There's something undeniably satisfying about a perfectly grilled chicken leg: that crispy, smoky skin giving way to incredibly juicy, tender meat. It’s the quintessential summer BBQ star, a dish that consistently draws rave reviews and encourages second helpings. But achieving this grilled perfection can sometimes feel like a daunting task. Fear not, aspiring grill masters! This comprehensive guide will walk you through everything you need to know, from selecting the right cut to crafting incredible flavor profiles and employing foolproof grilling techniques, ensuring you serve up the best grilled chicken legs every single time.
Why Chicken Legs Rule the Grill
While chicken breasts often hog the spotlight, chicken legs – especially leg quarters (which include both the drumstick and thigh) – are a superior choice for grilling, offering a multitude of benefits:
- Unmatched Juiciness: Thanks to their higher fat content and bone-in structure, chicken legs are incredibly forgiving on the grill. They resist drying out, remaining moist and flavorful even if slightly overcooked.
- Richer Flavor: The dark meat and bone impart a deeper, more robust flavor that stands up beautifully to bold marinades and smoky char.
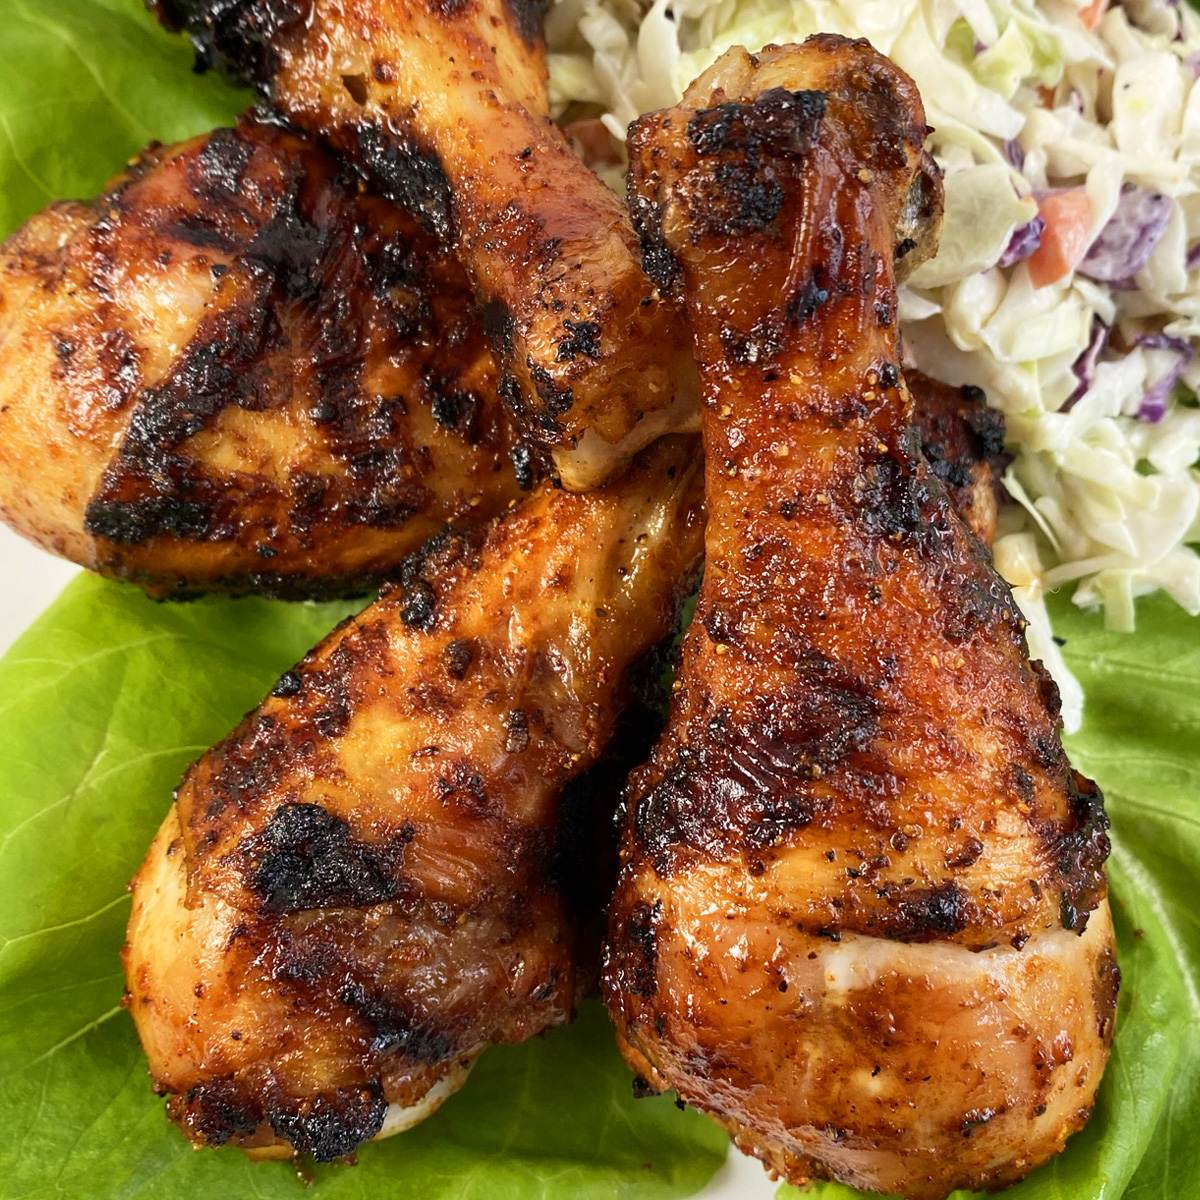
- Crispy Skin Potential: The skin on chicken legs, when properly rendered and seared, becomes wonderfully crispy, adding a delightful textural contrast to the tender meat.
- Cost-Effective: Leg quarters are often more budget-friendly than boneless, skinless breasts, making them ideal for feeding a crowd without breaking the bank.
When selecting your chicken, prioritize high-quality leg quarters. Look for plump, firm pieces with intact skin. If you can't find quarters, drumsticks or thighs work well too, but keep in mind that individual pieces might require slight adjustments to cooking times.
Crafting the Perfect Flavor: Marinade vs. Dry Rub
The secret to truly spectacular best grilled chicken legs lies in infusing them with flavor long before they hit the grates. Both marinades and dry rubs offer unique advantages, and understanding their roles is key to achieving your desired taste profile.
The Magic of a Marinade
A good marinade does more than just add flavor; it also helps tenderize the meat and keep it moist during grilling. Inspired by classic recipes, a vibrant marinade often combines:
- Oil: Olive oil, vegetable oil, or avocado oil forms the base, helping to transfer fat-soluble flavors and prevent the chicken from sticking to the grill. It also contributes to moisture retention.
- Acid: Fresh lemon or lime juice brightens the flavor profile and helps tenderize the meat by breaking down some of the muscle fibers.
- Sugars: Brown sugar (or coconut sugar for an alternative) is crucial for caramelization, creating that irresistible sweet and savory crust known as the Maillard reaction.
- Aromatic Spices & Herbs: Smoked paprika (for a deep, smoky note), garlic powder, onion powder, dried thyme, and dried oregano are classic choices that build a complex, savory foundation. Cayenne pepper offers an optional kick of heat. Salt and black pepper are essential for seasoning.
To prepare a marinade, simply combine all liquid and dry ingredients in a large bowl. Add the chicken legs, ensuring each piece is thoroughly coated. Marinating for at least 2 hours is good, but for the deepest flavors, aim for an overnight soak in the refrigerator. This extended time allows the flavors to truly penetrate the meat, transforming your chicken into something extraordinary. When it’s time to grill, remember to pat the chicken relatively dry after removing it from the marinade. Excess moisture can steam the chicken rather than allowing it to sear and crisp.
Unlocking Flavor with a Dry Rub
For those who prefer a crispy crust without the moisture of a marinade, a dry rub is an excellent choice. Dry rubs create a flavorful crust directly on the surface of the chicken, allowing the skin to crisp up beautifully. A well-balanced dry rub typically includes:
- Salt and Pepper: The foundational seasonings.
- Sugars: Brown sugar or turbinado sugar helps with caramelization and a slight sweetness.
- Paprika: Smoked paprika is a star here, but sweet or hot paprika can also be used.
- Garlic and Onion Powder: Essential aromatics.
- Chili Powder or Cayenne: For heat and depth.
- Herbs: Dried oregano, thyme, or rosemary can add an herbaceous note.
- Other Spices: Cumin, coriander, and mustard powder can add complexity.
To apply a dry rub, pat the chicken legs thoroughly dry with paper towels. This is a critical step for crispy skin. Then, generously sprinkle the rub over all surfaces, gently pressing it into the skin and meat. For best results, let the chicken sit with the rub for at least 30 minutes at room temperature, or up to 4 hours in the refrigerator, allowing the flavors to meld.
Can You Use Both?
For an advanced flavor profile, you can absolutely combine elements! Some chefs enjoy marinating their chicken for tenderness and moisture, then patting it dry and applying a light dry rub just before grilling for an extra layer of crust and spice. Experimentation is part of the fun in mastering the best grilled chicken legs!
Mastering the Grill: Technique for Juicy, Crispy Perfection
Achieving that perfect balance of crispy skin and juicy interior requires a thoughtful approach to grilling. It’s not just about heat; it’s about control.
Prepping Your Chicken and Grill
- Bring to Room Temp: For more even cooking, let your marinated or rubbed chicken sit at room temperature for about 20-30 minutes before grilling.
- Pat Dry: Whether marinated or rubbed, always pat the chicken thoroughly dry. Excess moisture creates steam, preventing that desirable crispy skin.
- Preheat Your Grill: This is non-negotiable. A hot grill sears the chicken, locks in juices, and prevents sticking. Aim for a medium-high heat (around 400-450°F or 200-230°C). Clean your grates thoroughly with a wire brush, then lightly oil them to prevent sticking.
The Art of Two-Zone Grilling
While some recipes suggest direct heat throughout, a two-zone grilling method is truly the secret to the best grilled chicken legs with both crispy skin and perfectly cooked interiors. Here's how:
- Direct Heat Zone: One side of your grill should be set to medium-high direct heat. This is where you'll get that initial sear and crispy skin.
- Indirect Heat Zone: The other side should be off (on a gas grill) or have fewer coals (on a charcoal grill). This zone is for slower, gentler cooking, ensuring the chicken cooks through without burning.
The Grilling Process, Step-by-Step:
- Sear for Crispy Skin: Place the chicken legs, skin-side down, over the direct heat. Close the lid and grill for 4-6 minutes, or until the skin is beautifully golden-brown and releases easily from the grates. Keep an eye out for flare-ups from dripping fat; move the chicken momentarily to the indirect zone if flames get too high.
- Flip and Continue Searing: Flip the chicken to the meat side (or bone side if using quarters) and grill over direct heat for another 4-6 minutes to develop some char and flavor.
- Finish on Indirect Heat: Move the chicken to the indirect heat zone. Close the lid and continue to cook for 15-25 minutes, or until the internal temperature reaches 165°F (74°C). This slower cooking ensures the meat cooks thoroughly without burning the exterior. Rotate the chicken every 5-7 minutes for even cooking.
Monitoring Doneness: The Thermometer is Your Best Friend
Forget guessing. The only way to guarantee your chicken is safely cooked and perfectly juicy is by using an instant-read meat thermometer. Insert the thermometer into the thickest part of the meat, avoiding the bone. Your target temperature is 165°F (74°C). While some people prefer dark meat to be a bit higher (up to 175°F/80°C) for maximum tenderness, 165°F is the safe minimum and will yield incredibly juicy results.
Resting is Key: Once the chicken reaches its target temperature, remove it from the grill and let it rest on a clean cutting board or platter, tented loosely with foil, for 5-10 minutes. This crucial step allows the juices to redistribute throughout the meat, ensuring every bite is moist and flavorful. Skipping this step is a common mistake that leads to dry chicken.
Tips for the Best Grilled Chicken Legs Every Time
- Manage Flare-Ups: Keep a spray bottle of water nearby to spritz down any sudden flare-ups caused by dripping fat.
- Don't Overcrowd the Grill: Give each chicken leg space for even cooking and proper air circulation.
- Basting (Optional): If you like, you can baste the chicken with a little leftover marinade or a thin BBQ sauce during the last 5-10 minutes of indirect cooking. Be careful not to apply sauce too early, as the sugar can burn.
- Garnish for Freshness: A sprinkle of fresh chopped parsley or cilantro, or an extra squeeze of lemon juice before serving, adds a vibrant finish.
- Quality Matters: Starting with good quality chicken makes a noticeable difference in the final taste and texture.
Mastering the grill means embracing patience and precision. With these techniques and tips, you're now equipped to turn simple chicken legs into a culinary masterpiece. Whether you're hosting a backyard bash or simply enjoying a family meal, these best grilled chicken legs will be the star of your spread, proving that delicious grilling is within everyone's reach. So, fire up your grill, embrace the smoky aromas, and get ready to enjoy finger-licking perfection!
